
ADO (short for Azure DevOps) is a repository for code to ensure that changes are tracked and the most up to date version is in production. For reports we are using this to manage reports with a more simplified process than managing the code base.
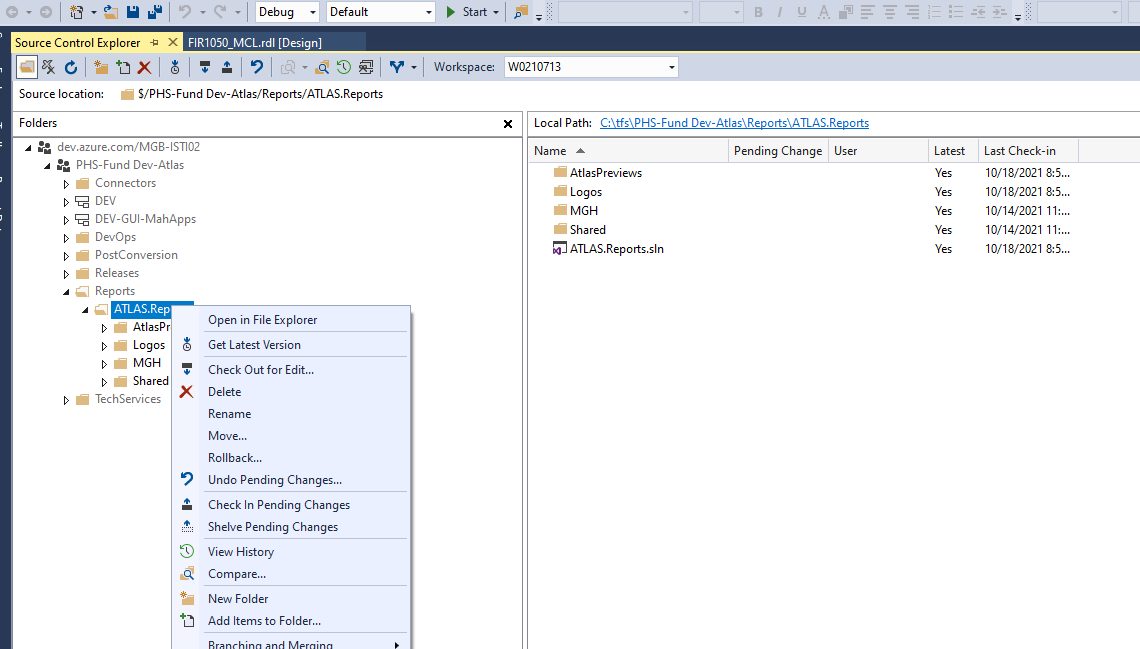
The solution has 4 folders as of 11/2021.
- AtlasPreviews – for screen shots of reports
- AtlasLogos – changed from “Logos” 3/2022. At some point we will remove the plain “Logos” folder as everything should be pointed to AtlasLogos
- MGH – for MGH only reports, these are reports that are developed for MGH and only exist in their folder in reporting services. Reports here are only updated in the MGH folder.
- PHS – for PHS only reports that only exist in the PHS/MGB folder. Yes, we are aware that PHS has changed its name. However the folder names here in ADO need to agree with the Reporting Services folder names.
- Shared – for all MGB shared reports. These are reports that are created or managed by MGB and are pushed out to all affiliate folders. Changes made to reports in this area and checked-in will update this report across all affiliate folders.
ADO Setup
ADO has a variety of work item types. For linked reports, each report is a requirement, and all updates are done with child tasks linked to the requirement. The easiest way to see all Atlas linked reports is to look at Queries/Shared Queries/Report Writers – All Reports, or click here.
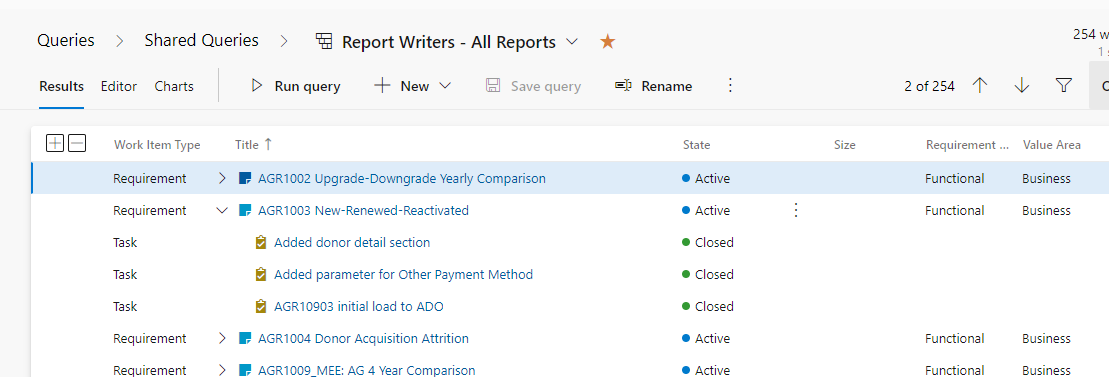
Report requirements should be named with the report ID and name. They should stay Active until the report is archived or removed and then can be closed. Not that the “reason” code can look odd, we are only concerted about the state = “active”
Report updates are child tasks to the requirement. A new task should be created for each group of updates (click on add link on the right to create new child tasks). Making the task name as descriptive as possible will make it easier to identify what will be affected if a roll-back is needed.

If a new report is needed, please add the requirement FIRST including the report ID. That will help us to avoid re-using report ID numbers.
Checking In Reports
Before making any updates be sure to “Get Latest Version” of the solution so you get updated information including everything others have checked in. If users need to test your report, you can upload a version to their appropriate reporting services folder and RENAME it if appropriate so they can check the new version and the old.
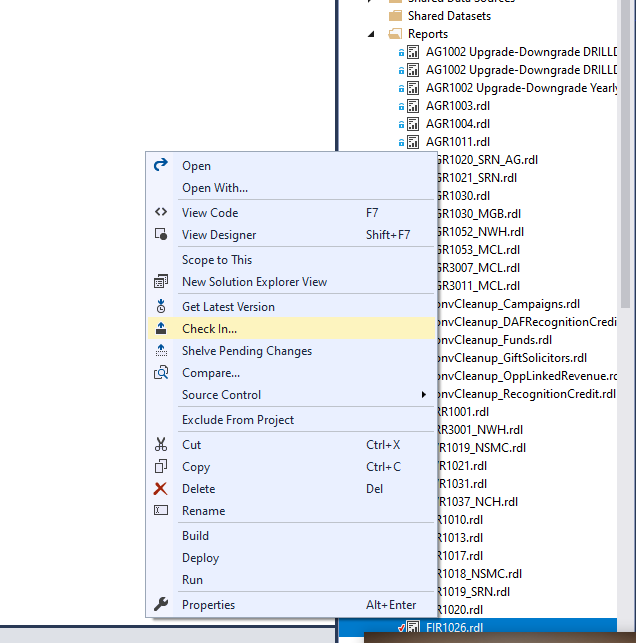
Once you have received final approval for your changes, you will check in the report. You can right-click and choose Check In.
At this point you will need to
- add a comment that describes the changes you made
- link the updated report to a work item. It is easiest to find the work item number in advance and type it in
- choose what you want to update – if you are working on multiple reports you will want to ensure you are only checking in the report that is approved. If you added a report you will also need to check in the project. In almost every circumstance, we want to check in updates to one report, linked to one task and one changeset.
Important note: All checked in reports should use SHARED data sources, not custom data sources.
Adding New Logos and Screenshots
There is a folder in the solution for logos and screenshots. Please add or update these using ADO so we can track changes. Once updated here and checked in, the update is pushed to the appropriate folder in Atlas.
Initial setup in Visual Studio:
Linking to the project, should only have to be done once

Downloading the most recent copy of the ATLAS.Reports solution to your local machine. Periodically you will want to right-click on the solution and get the latest version, especially before making any updates.
How Do I?